How to paint eggs for Easter - a selection of the best ways
Content:
- General rules
- So different eggs
- Most popular egg painting ideas
- Method 1. Paint in onion peel
- Method 2. Gifts of nature and the food industry
- Method 3. Patterns in color - how to diversify staining
- Method 4. Translation rules - how to paint with a cloth?
- Method 5. Easy and simple - use stickers
- Method 6. Coloring the eggs in a napkin
- Method 7. Marble eggs - like clockwork
- Method 8. A work of art - for the embodiment of talent
Since ancient years, there is a tradition of painting eggs before Easter, and each family has its own recipe for making Easter symbols. Today I want to talk about my "piggy bank" of ideas. So, how to paint eggs for Easter - step by step photoreceptions.
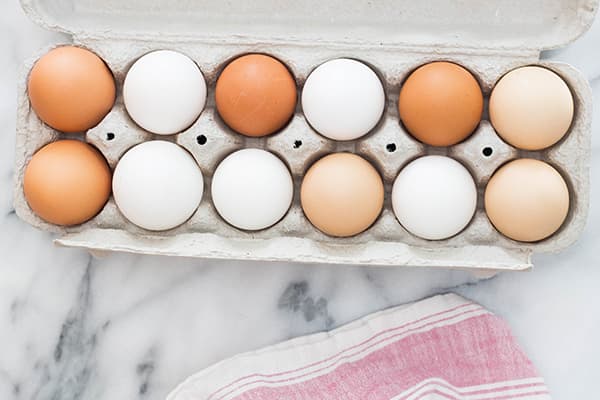
General rules
There is a set of basic rules, without which the matter, as they say, is not worth a damn. It is important to prepare future Easter gifts for the responsible painting procedure in order not to spoil the products.
Before you learn 8 ways to paint eggs at home, remember 8 rules for preparing for this procedure:
- For the color to be evenly and densely distributed over the surface of the shell, the eggs must be washed with soap and then degrease the surface of the shell with alcohol or vinegar. To do this, moisten a cotton pad or cloth with liquid and grate the egg.
- Do not put icy eggs in the refrigerator from the refrigerator! They must certainly get used to the new conditions. Therefore, we warm them in warm water or leave to adapt to room temperature on the table, and only then we send to cook. A sharp drop in temperature is a direct road to shell cracks.
- Boil eggs better with salt. The calculation here is approximately as follows: 1 tablespoon is false for 1.5 - 2 liters of water. Salt will strengthen the shell and in case of violation of its integrity will not allow the protein to leave "its territory."
- Already boiled and painted eggs, rub with a cloth or cotton pad soaked in vegetable oil. This will give the puppies a festive and cheerful look and additionally protect the color. After that you can additionally rub with a dry cotton cloth, which will make them shiny and glossy.
- For color fastness in dyes, regardless of their origin, add 9% table vinegar (1 tablespoon to 1.5 liters of water).
- After boiling, pour eggs with cold water. In this case, the temperature contrast will benefit - the egg will be cleaned much easier.
- The residence time in the solution directly affects the future color of the egg. The longer, the correspondingly more intense will be the shade.
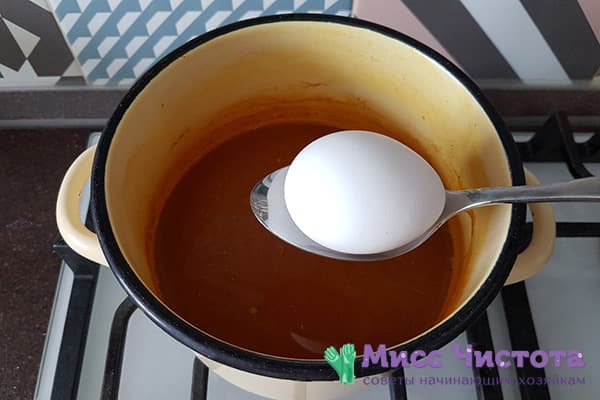
- It is convenient to immerse an egg in a coloring solution using a kitchen whisk. The egg should be inserted between the corolla rods and lowered into a container of paint.
You can paint not only chicken eggs, but also quail. The latter look especially original on the festive table. You need to cook them for 4-5 minutes.

So different eggs
Depending on the design of Easter eggs, they are all divided into the following types:
- krashenki - dyed with food or natural dyes in one color;
- speckles - with speckles on the shell, colorful spots or stripes of different colors;
- drapery - painted one color and having a pattern or pattern scratched on the shell;
- Easter eggs - eggs with an original ornament or plot pattern, which is applied manually or created in any special way.
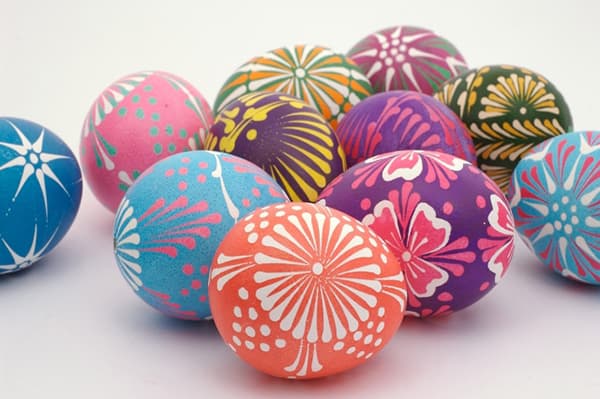
Most popular egg painting ideas
We will remind you of the basic recipes for making Easter souvenirs with your own hands at home and even discover some “folk” secrets.
Method 1. Paint in onion peel
The classic and well-known way to paint eggs for Easter at home - using onion husks - has a major advantage over other recipes. It is simple, safe, fast and beautiful. Original crimson, brown, beige eggs are obtained depending on the characteristics of the onion husk. The larger it is, the brighter and richer the color. In addition, the husks of red onions can add additional shades.
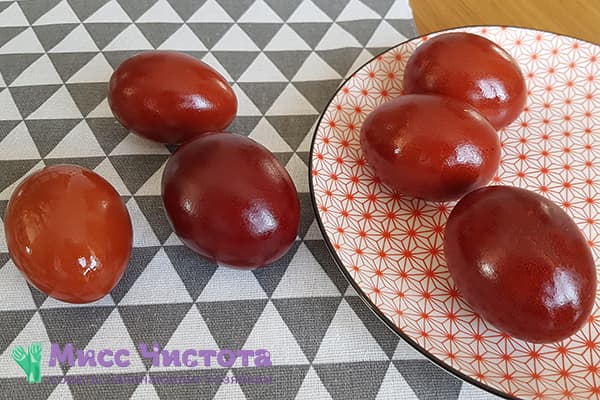
For orientation, you can take the following postulate as a basis: 2 glasses of water and husk of 8 onions gives a red-brown color at the exit.
Staining process:
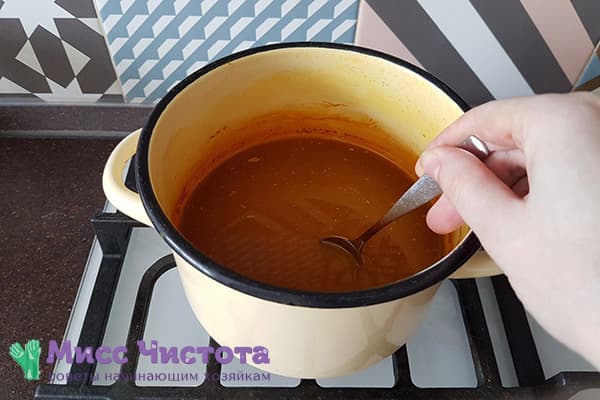
- Pour onion peel into a pot of water. Within half an hour, it is necessary to boil the coloring solution. Cool it and let it brew. To get a more even color of eggs, strain the broth, removing the husk.
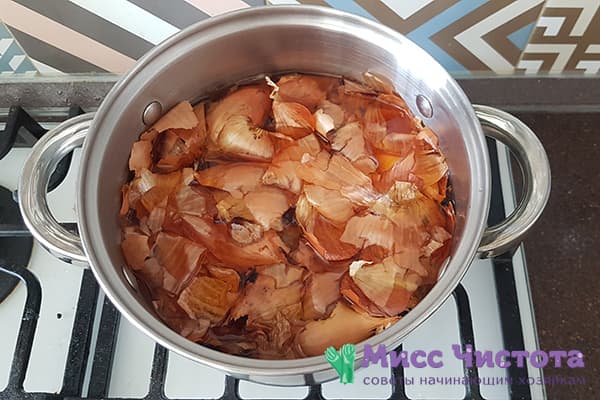
- Dip the prepared raw eggs in a pan until the liquid completely covers them. Cook the eggs on moderate heat for another 10-15 minutes.
- Get out the eggs. Cool them under running water. If the resulting color does not suit you, you can lower them into the paint again and leave them to lie there until the desired shade is obtained.
If you do not remove the husk from the broth, interesting “fiery” stains will remain on the shell - an option for those for whom the one-colored surface seems too boring.
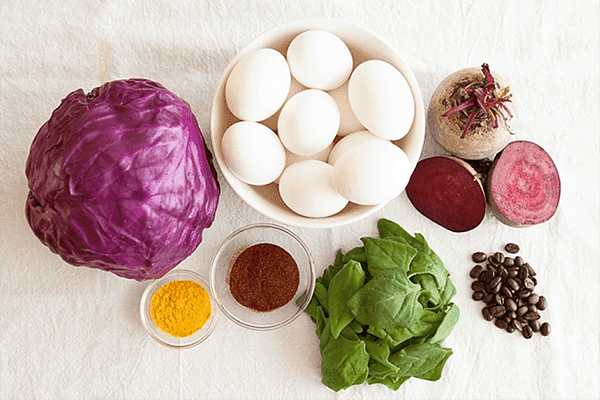
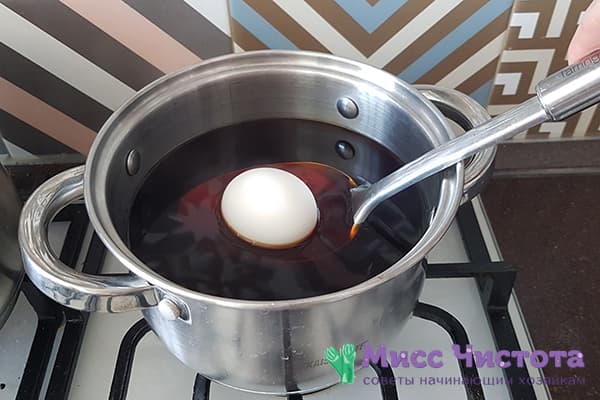
Method 2. Gifts of nature and the food industry
Natural dyes are often used during preparation for Easter celebrations.
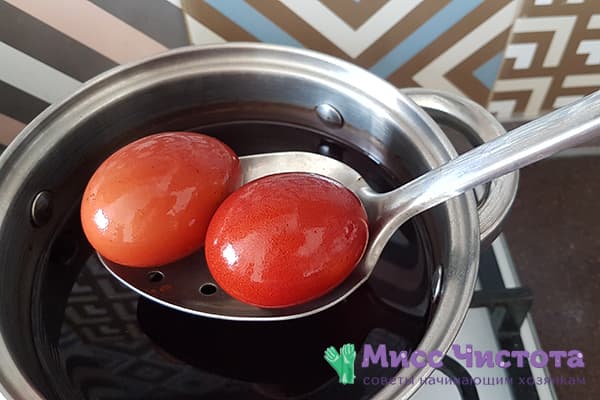
- To get the pink color of the eggs, you can use beetroot juice.
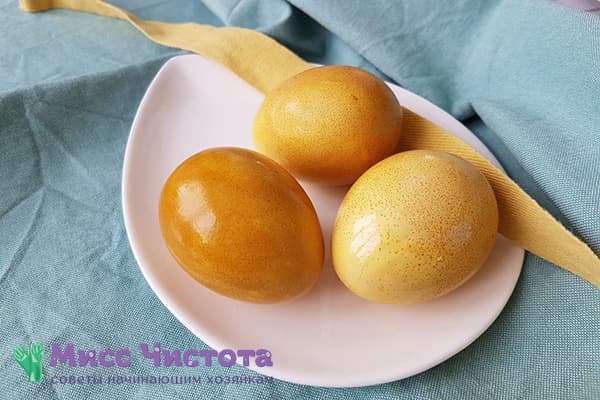
- Yellow color - take turmeric, orange, carrots, birch leaves.
- Gray color - use strong hibiscus tea.
- Blue color gives red cabbage.
- Green color is obtained from spinach, nettle.
- Brown gives coffee.
In the case of natural dyes, weak in nature, it is better to have the original color of the egg white, and add 9% table vinegar to the paint.
Artificial dyes of industrial production are able to color a brown egg.
The usage algorithm is approximately the same, it differs only in the time of exposure to the shell.
- Cook hard-boiled eggs in the traditional way - for 10-15 minutes.
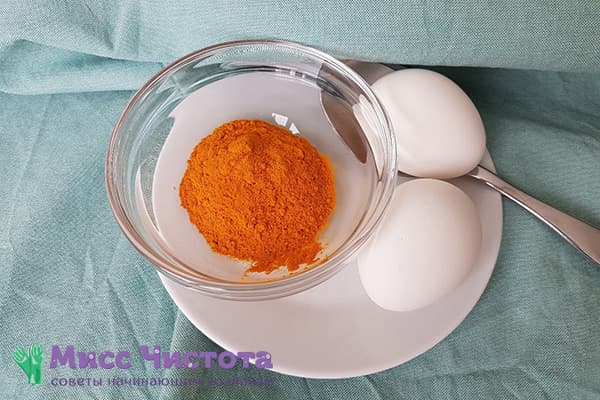
- Prepare a coloring solution. If it is a natural dye, it should be boiled in water with the addition of vinegar, leave to infuse for half an hour. Food colorings must be prepared according to the manufacturer's instructions.
- Place eggs in the solution. When using natural dye - for a long time, up to 12-14 hours. Using artificial pigment, age the eggs in accordance with the user manual.
- Dry the egg.
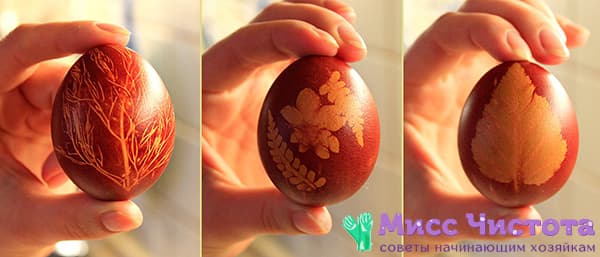
Method 3. Patterns in color - how to diversify staining
Whatever method of coloring you choose - with natural or artificial dyes - you can add originality to each krashenka by applying a stencil on it. The stencil can be natural leaves and flowers, as well as patterns and figures cut from adhesive tape, plaster, self-adhesive paper, stationery gum or lace. Rice can also color the original pattern if you roll a wet egg in it.
Proceed as follows:
- Prepare the eggs.
- Place a stencil on a raw (for onion peel) or boiled (for other dyes) egg. Fix it with nylon tights and threads or elastic bands.
- Color the egg by boiling in an onion broth or immersing in a coloring solution.
- Dry the egg. Remove the stencil. You will see an original egg decorated with an interesting and unique pattern in the color of a natural shell.
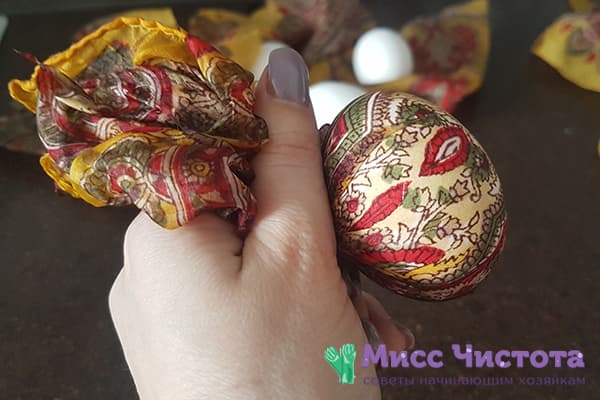
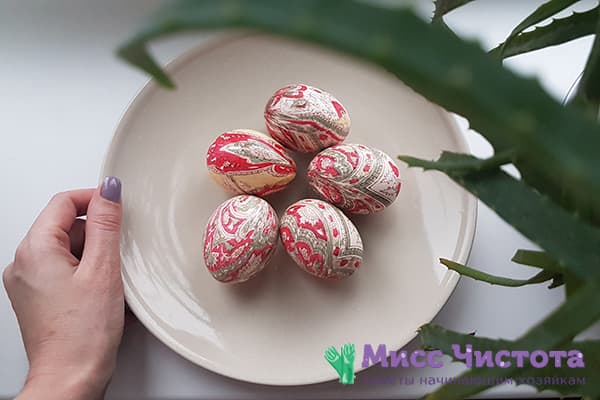
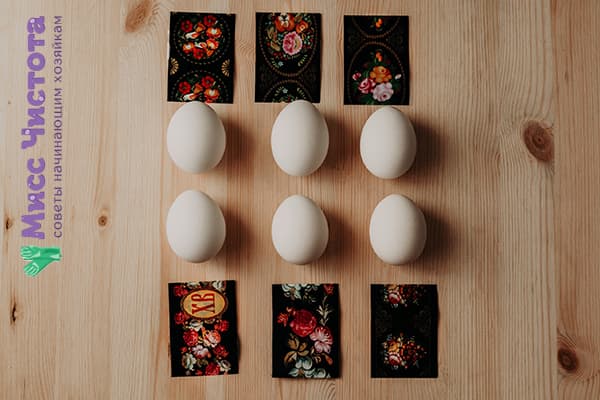
Method 4. Translation rules - how to paint with a cloth?
Eggs that have preserved the prints of tissue on the shell look original. A silk tie and Pavloposadsky shawl are the best options for dyeing Easter symbols at home.
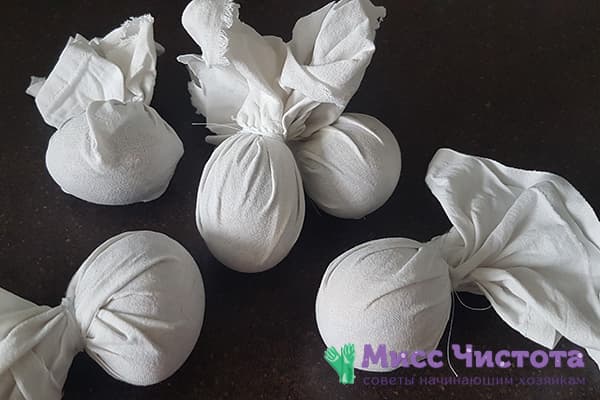
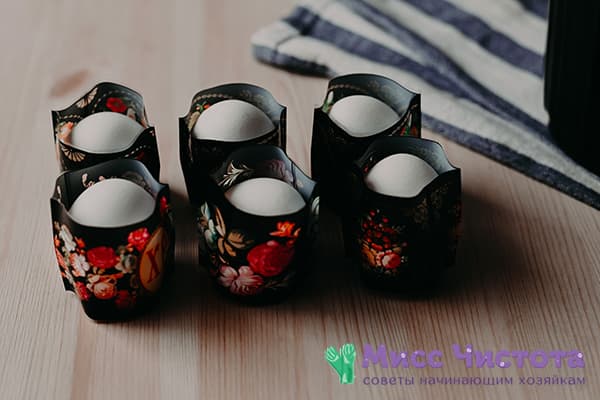
- Wrap the egg with a tissue section measuring 15 x 15 cm, face inward.Secure the bags with thread or stationery gum.
- Wrap the bag in addition with a natural white cloth. Lock it in the same way.
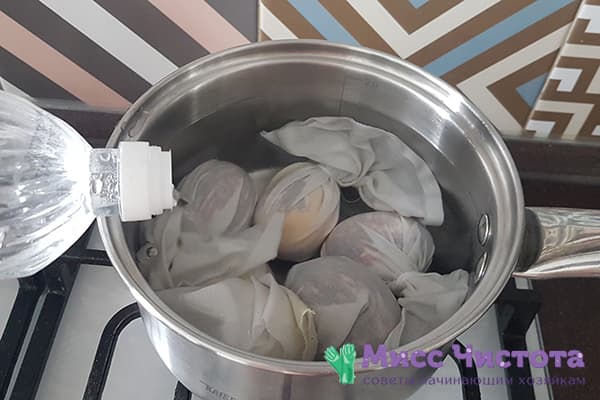
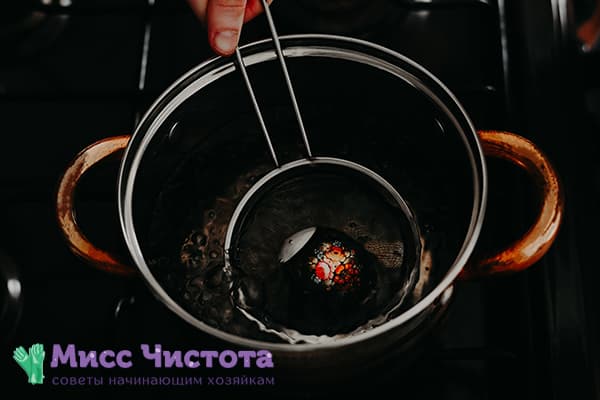
- Boil hard-boiled eggs by adding 3 tablespoons of 9% table vinegar to the water.
- Drain, cool the eggs and unfold them. Beautiful and picturesque souvenirs are ready!
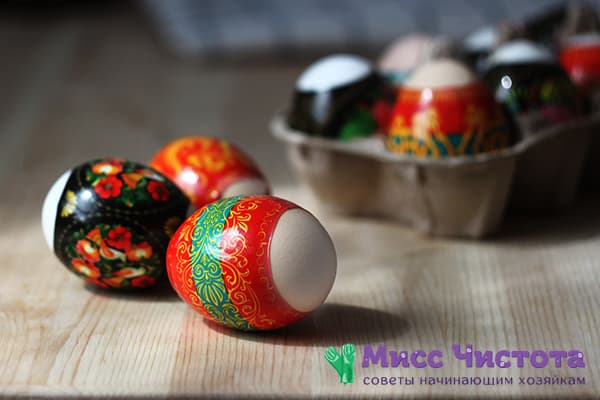
Method 5. Easy and simple - use stickers
One of the most unpretentious and, nevertheless, wonderful ideas is thermal stickers. Today, store shelves are full of variations with patterns that can decorate eggs, thanks to such films.
- Cook hard-boiled eggs.
- Put on the thermal film and put the egg in a strainer or whisk.
- Dip the tool in hot water for a few seconds. After the sticker sticks tightly to the egg, pull it out of the water.
Method 6. Coloring the eggs in a napkin
An absolutely simple and affordable way to color eggs with your own hands at home gives an interesting and unusual result.
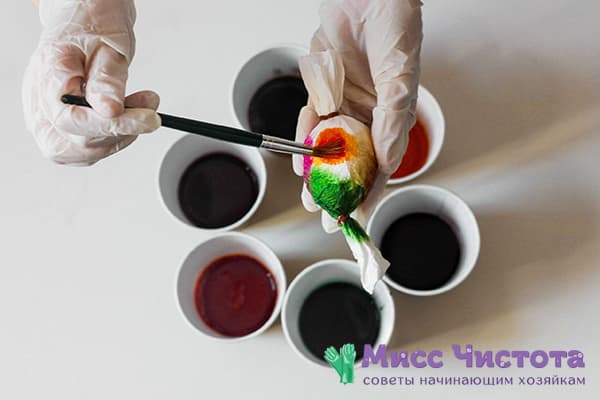
- Wrap a dry hard-boiled egg in a napkin or paper towel.
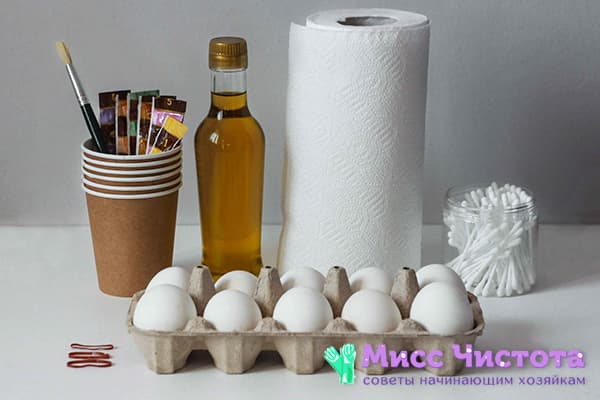
- Prepare the coloring solutions in accordance with the manufacturer's recommendations.
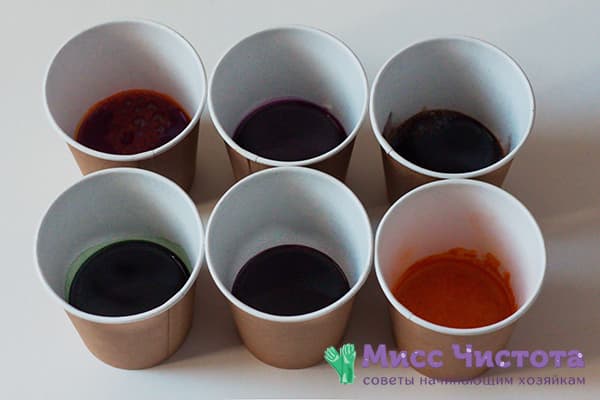
- Using cotton buds, a pipette, a brush, saturate the paper with multi-colored small spots, sequentially filling the entire white surface.
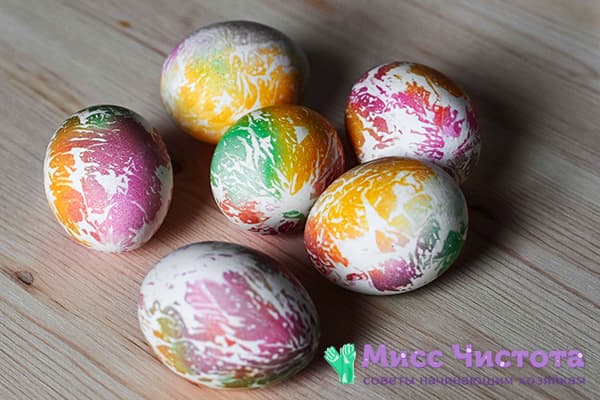
- Dry the egg for 35–40 minutes and carefully remove the paper bags. You will get a unique and beautiful dot pattern.
Method 7. Marble eggs - like clockwork
To get an interesting marble color at home is not at all difficult - all the manual work for you will be done by ordinary vegetable oil. You only need to harmoniously select beautiful colors and buy good, high-quality food colors.
- Boil the hard boiled egg in the traditional way.
- Dilute the dyes of different colors in accordance with the manufacturer's recommendations.
- Dip the cooled egg with a whisk or spoon into a light-colored dye for 2 minutes.
- Remove the egg and pat it with a napkin.
- In a darker color, add 1 tablespoon of vegetable oil and stir until small bubbles form.
- Dip the egg into the solution and roll for a minute until a new color is fixed on the surface in the format of fancy patterns.
- Take out the egg. Dry it.
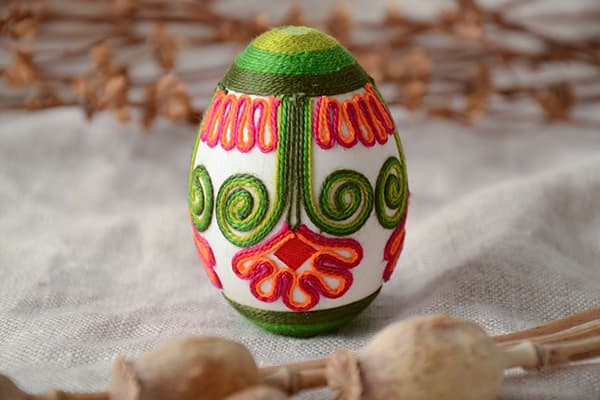
Method 8. A work of art - for the embodiment of talent
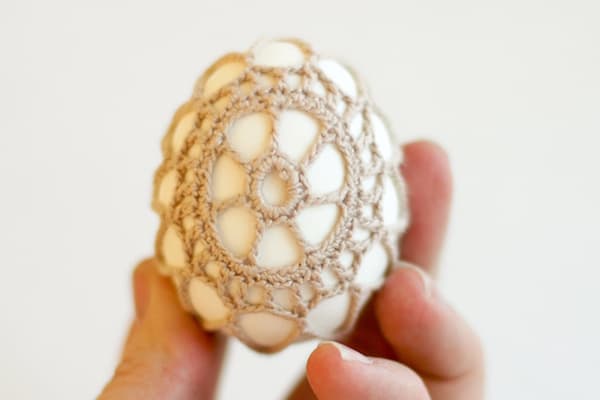
Mistresses-needlewomen will surely like especially complex and laborious techniques for decorating eggs with their own hands. In all these cases, it is better to remove the protein and yolk in advance by making a small puncture in the shell.
- You can crochet an egg
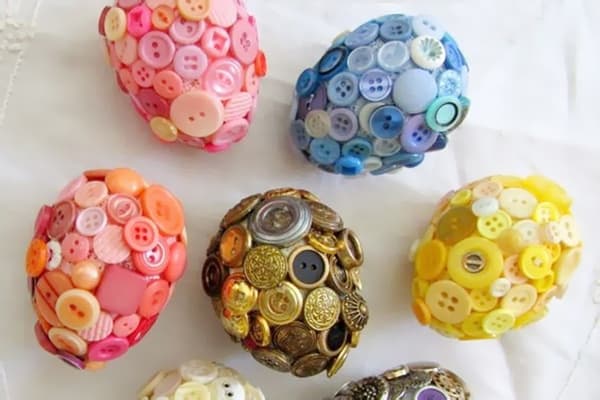
- An egg embroidered with buttons looks original. First you need to tighten the workpiece with a cloth.
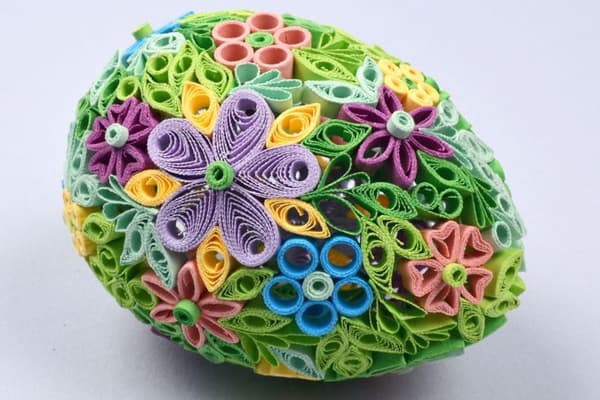
- You can decorate the egg using the quilling technique.
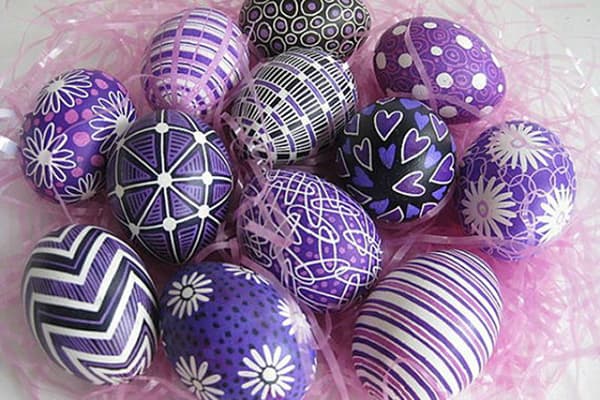
- With the participation of children, paint the eggs with wax crayons, acrylics or permanent markers.
- Take multi-colored threads - floss, cotton and fine wool are suitable. Fasten one end of the thread with tape. Coat the egg with PVA glue. Consistently and accurately, without leaving gaps, wind the thread on the egg. Working very carefully, you can lay out a pattern with it.
As you can see, there is a whole arsenal of different answers to the question of how to paint eggs at home. Some methods require time and effort, some are completely simple. Each of the photo ideas presented in the article can be modernized in accordance with their tastes and brought to perfection. Happy Easter!